
Getting Started with Reachy Mini
Unboxing and Assembly

Welcome to Reachy Mini
This is part 1 of a series on building and running a Reachy Mini Lite. By the end of this post, you’ll have a fully assembled robot sitting on your desk, ready for software setup in the next post. We’ll cover what Reachy Mini is, why it’s worth your time, how to inventory the kit, and how to work through the assembly.
Why Reachy Mini? There’s no shortage of robot kits, but Reachy Mini is built around the Hugging Face open-source ecosystem. That means the firmware, the SDK, and the example integrations are all inspectable and hackable, so you’re not locked into a vendor’s app. If you want to swap in a different LLM, add a custom behavior, or read how the motor control actually works, the code is right there. For anyone who learns by taking things apart, that openness is the whole point.
Who this class is for. You should be comfortable on a computer, running a terminal, installing Python packages, and editing config files. You do not need prior electronics or robotics experience. If you’ve never wired a motor before, that’s fine; the kit is designed to be approachable and the assembly is mostly mechanical.
What it costs and how long it takes.
Kit: $299 for the Reachy Mini Lite
Time: plan on about 2.5 hours for this post, roughly 30 minutes for unboxing and inventory, 2 hours for assembly
Other prerequisites: a Mac/Linux/Windows computer, a stable Wi-Fi connection, and a clear workspace
Ready? Let’s open the box.
What’s in the Box
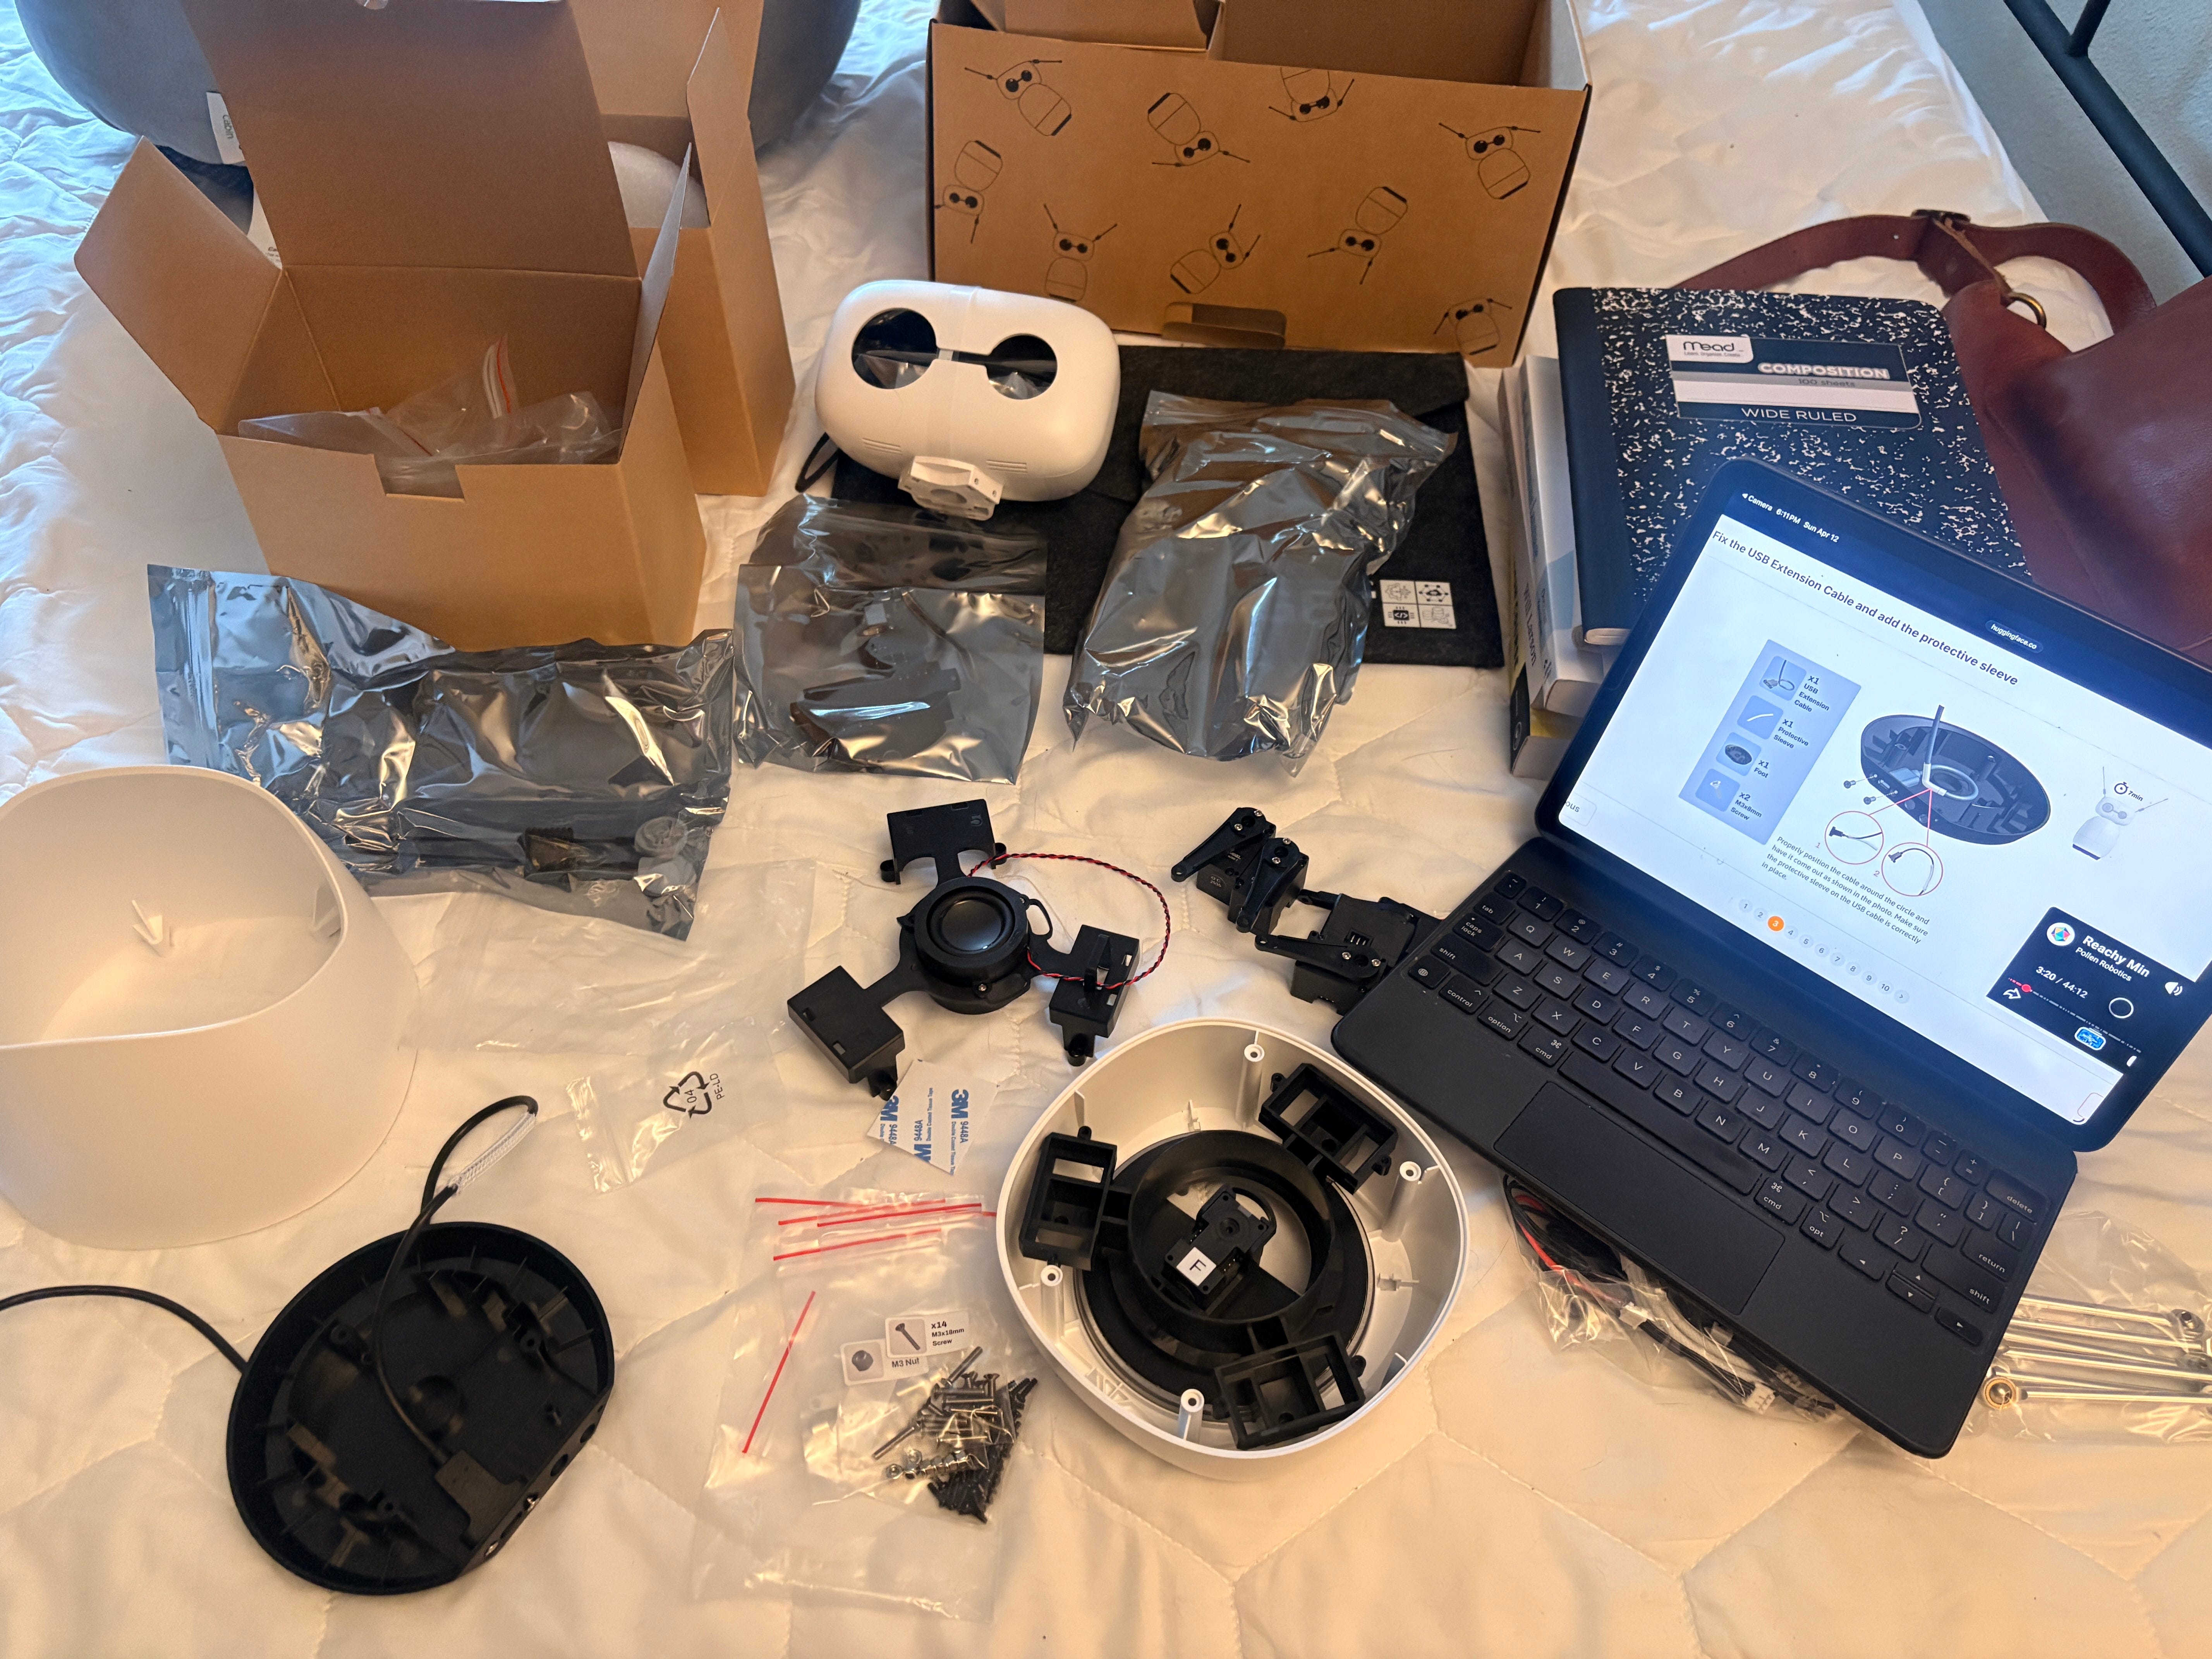
The Reachy Mini Lite ships with all the parts and tools you need to complete the build, including the screwdriver. For the authoritative packing list, see the official Reachy Mini documentation.
Open the box and lay each part out on your workspace. Match every item against the official packing list, one by one. If something looks damaged or is missing, stop and contact the vendor before going further. It’s much easier to resolve a shipping issue now than to discover a missing screw at step seven of assembly.
What you’ll need to provide yourself.
A computer (Mac, Linux, or Windows) with a USB port and Wi-Fi
A clear, well-lit workspace, ideally a desk where small screws won’t roll away
A note on your workspace. The parts are small and there are a lot of screws. A magnetic tray or a small dish helps. Good lighting matters more than you’d think when you’re checking motor orientations later.
Once your inventory checks out, you’re ready to start building.
Assembling Your Reachy Mini
The official assembly documentation is genuinely excellent. Rather than duplicating it step by step, this section walks through the build at a high level, with callouts for the spots where you’re most likely to slow down or make a mistake. Follow the official guide for the precise instructions; come back here for context and lessons learned.
Plan on about 2 hours from start to finish. You don’t need to do it in one sitting, but try to finish each major section (base, body, head) in a single session so you don’t lose track of where you are.
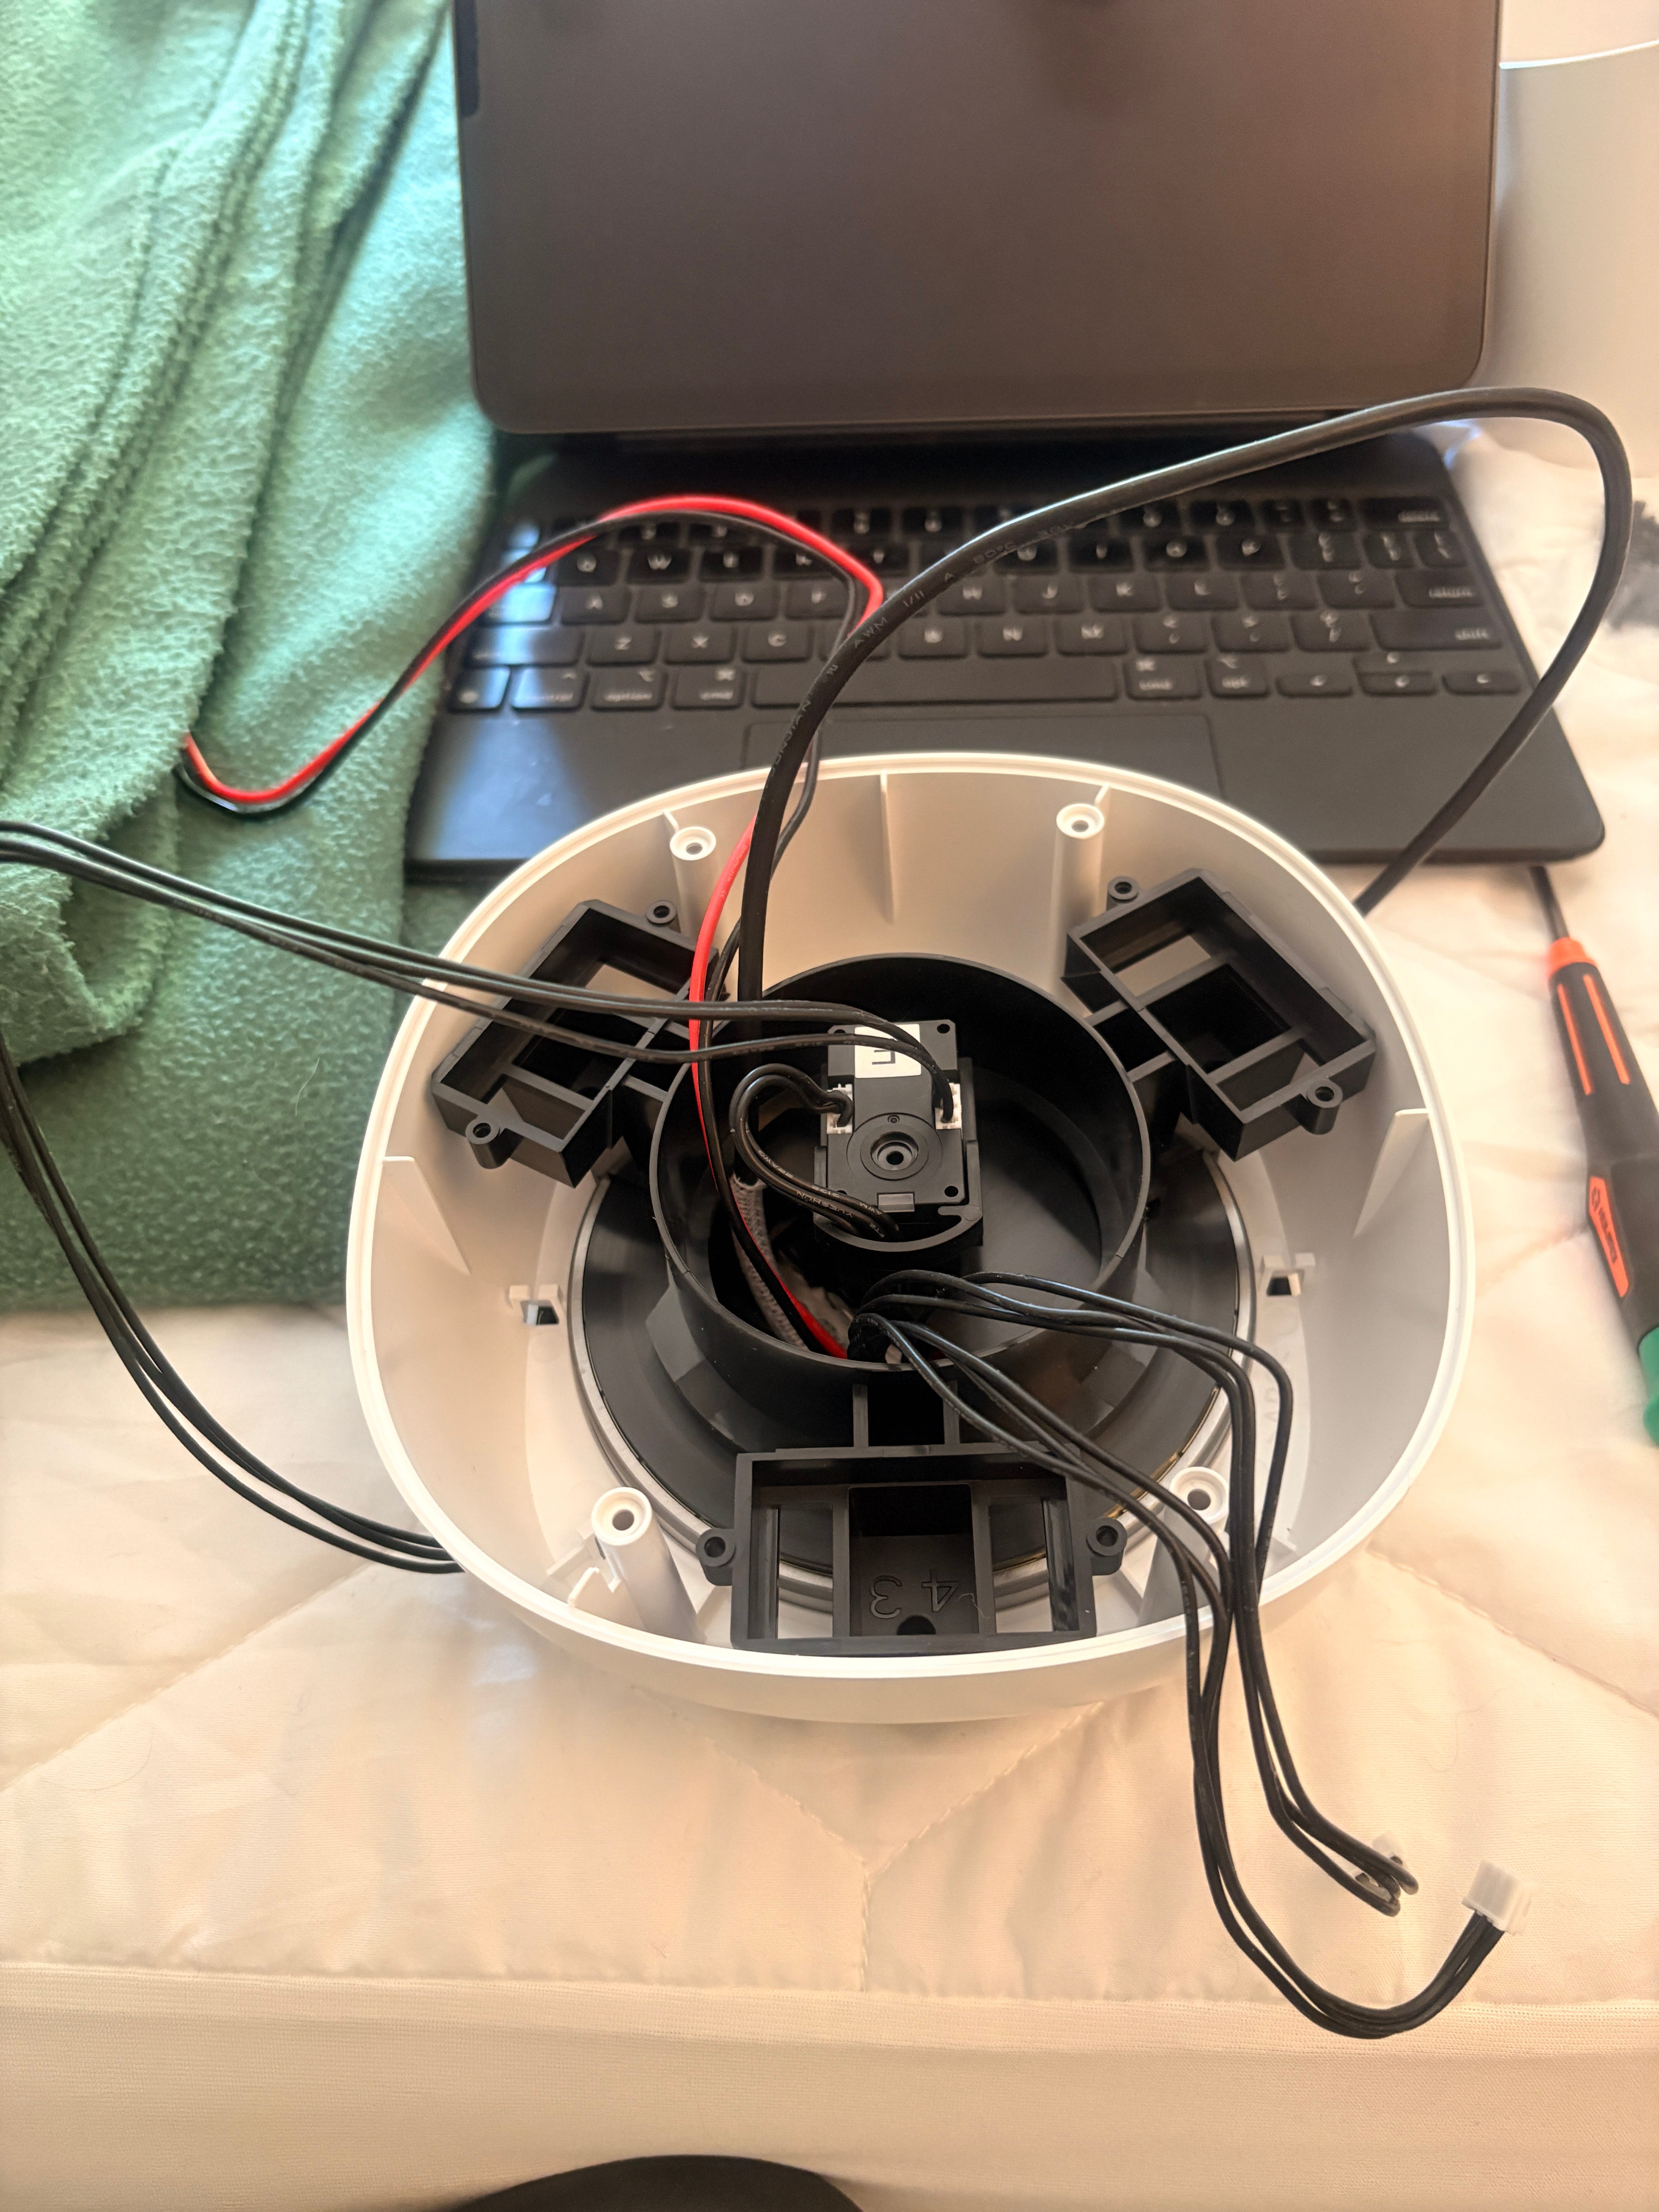
Step 1: Start with the base
The base is the foundation for everything else, so take your time getting it right. The motors mount into the base, and their orientation matters for the steps that follow.
⚠️ Callout: Check motor order carefully. I got the motor order wrong on my first attempt. The Reachy SDK printed a clear debug message that pointed me to the issue, but I didn’t capture the exact text. The lesson: trust the error output, and double-check motor labels against the diagram in the official docs before powering on. A few extra seconds verifying here saves you from disassembling later.
Step 2: Build up the body
With the base solid, you’ll work your way upward, attaching the body sections and routing the wiring. The kit is designed so each piece fits one way, but it’s still worth a moment to confirm orientation before tightening each screw.
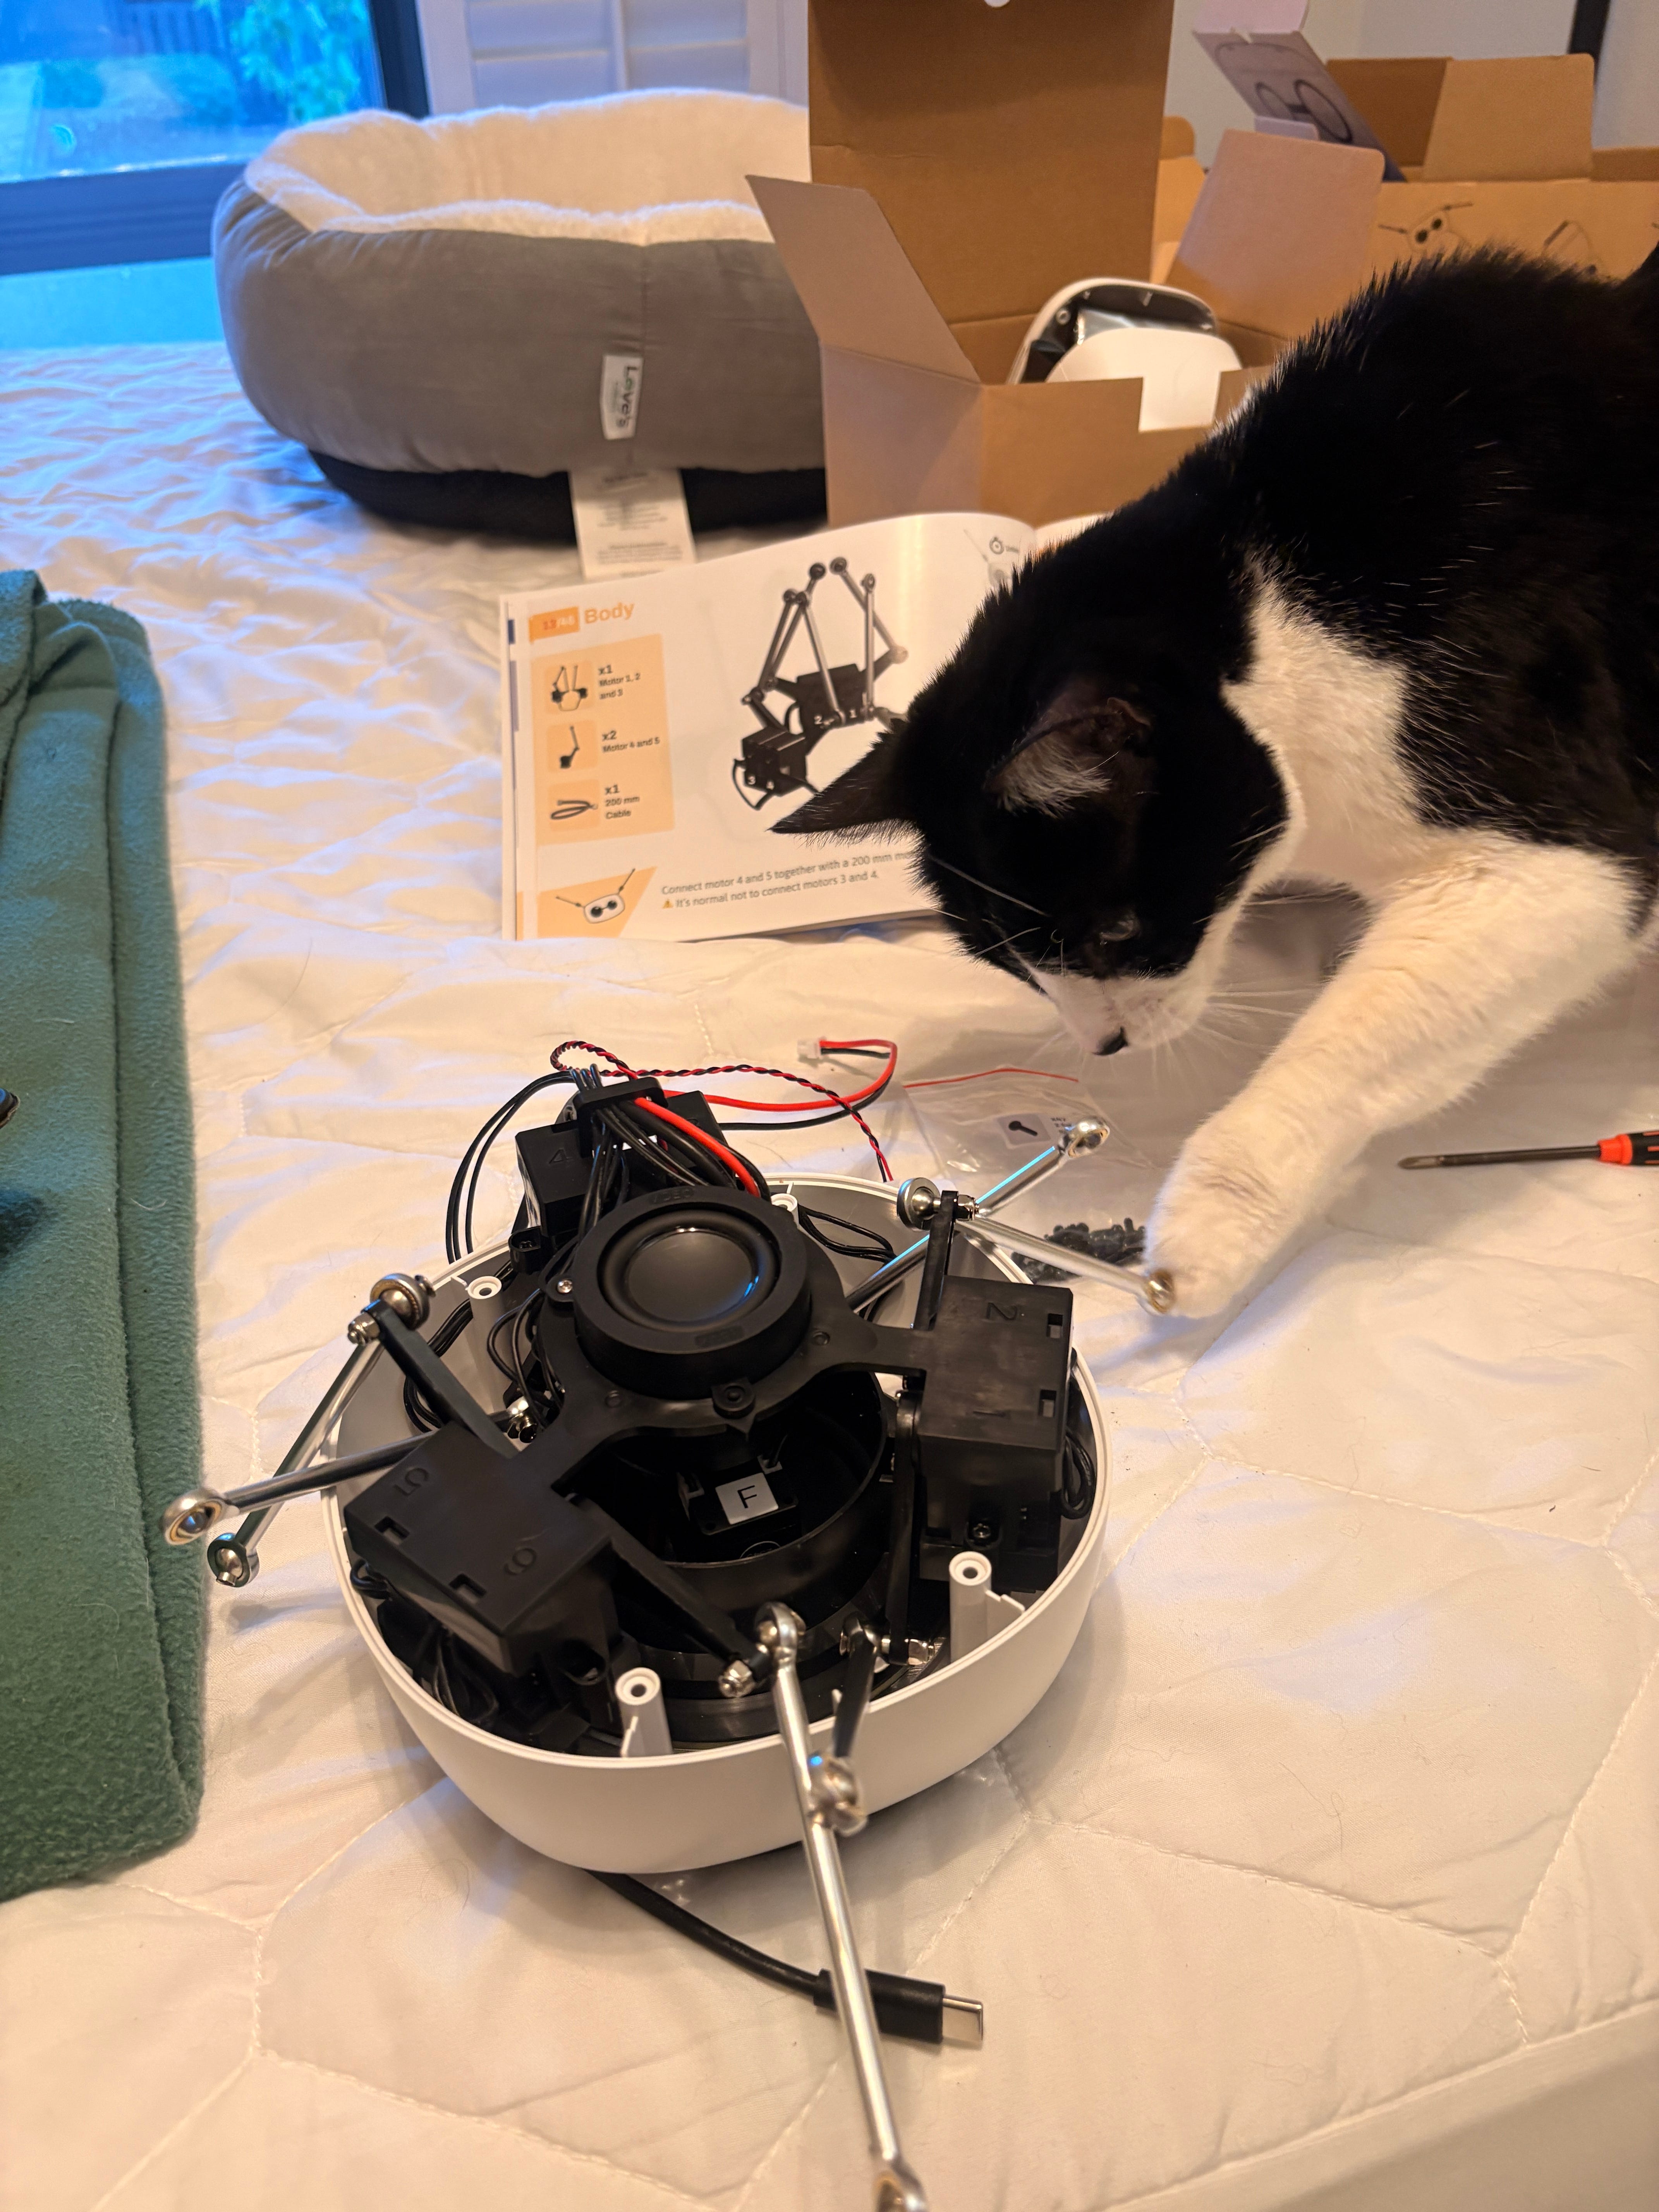
Working up from the base toward the head. The wiring routes through the body, so keep it tidy as you go.
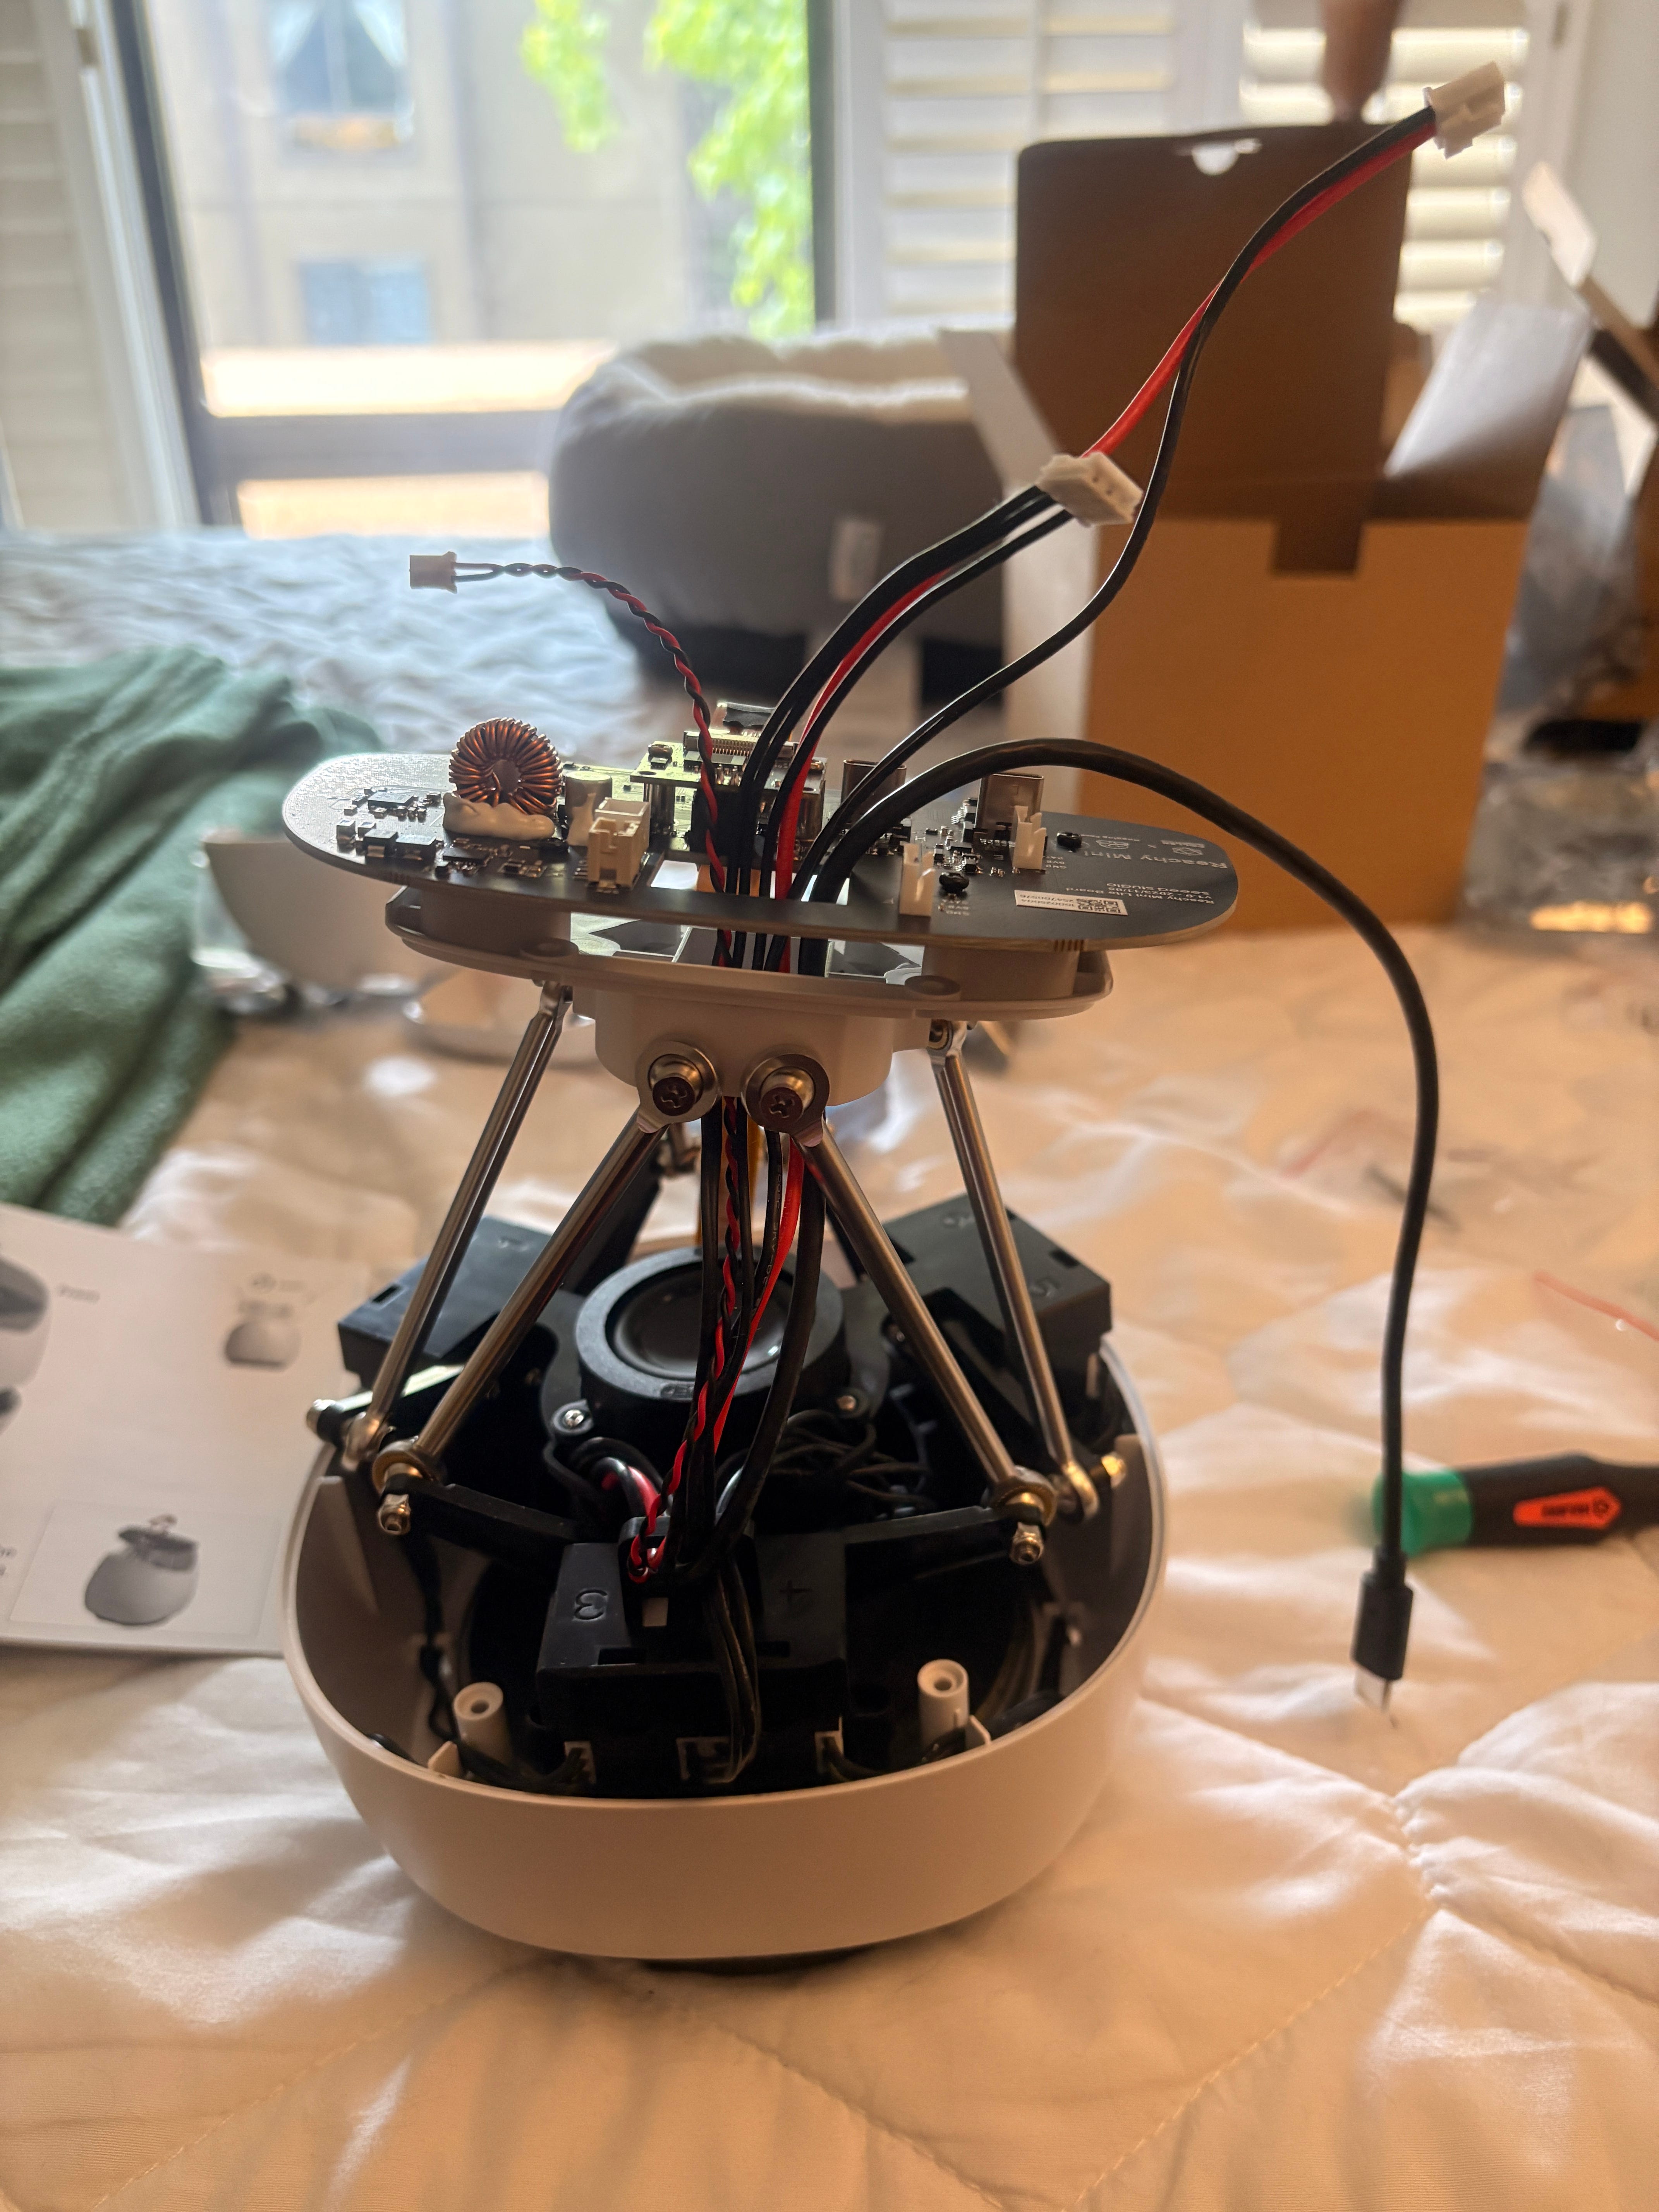
Step 3: Install the head
The head holds the camera and most of the sensor logic, so this is where the robot starts looking like a robot. Mount it carefully and confirm the connections to the body before fully securing it.
Step 4: First power-on
Before connecting any software, do a basic power-on check. The official docs walk through this, but the short version: connect the robot, watch for the expected startup behavior, and make sure all four motors respond. If anything looks wrong, stop and troubleshoot before moving to software setup. Hardware issues are much easier to catch now than after you’ve layered software on top.
First power-on test. All motors responding as expected.
If you got here without major snags, congratulations, you’ve built a robot.
What’s Next
In the next post we’ll set up the SDK and have our first conversation with the robot using the built-in reachy_mini_conversation app.